Battlefield 6: How to Create Own Server and Get Fast XP
Learn the fastest way to grind multiplayer trophies and battle pass missions in Battlefield 6 by creating your own private bot match in the Battlefield Portal. This guide shows you exactly how to set it up.
Why You Should Be Farming in Portal
Let’s be real, the multiplayer grind can be a total slog. But there’s a lowkey OP method to speed everything up: Battlefield Portal.
The big secret is that any progress you make in a private Portal match filled with bots still counts towards your main progression. This is a total game-changer for farming:
- XP for ranking up
- Multiplayer achievements/trophies
- Weapon level-ups and attachments
- Tough Battle Pass missions
The only catch? The server mode you create must have the “Full XP” badge enabled. As long as it does, you’re good to go.
The Quick Start Method (Find an Existing Farm Map)
If you don’t want to mess with creating your own server, you can just find one that’s already set up for farming.
- From the Battlefield 6 main menu, go to Community.
- In the Community Experiences section, look for a server with a name like “XP Farm,” “Bot Farm,” or “Infantry Breakthrough Bots.”
- Host the server and make sure to set a password to keep it private.
- The server will fill up with bots, and you can start farming. It’s that easy.
Creating Your Own Custom XP Farm (The Full Guide)
The real pro-gamer move is to create your own custom server. This gives you full control over the maps, modes, and rules.
Step 1: Access the Battlefield Portal Builder
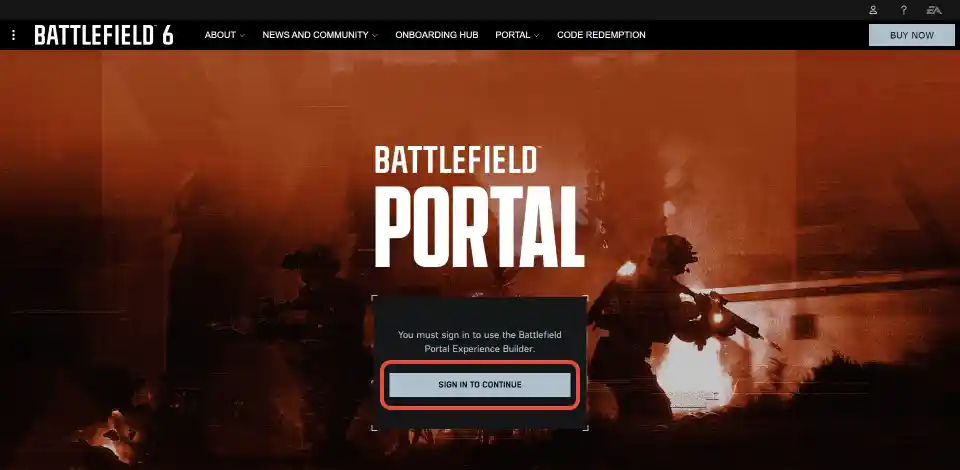
You can’t do this from inside the game. You need to use the web-based Portal builder.
- Go to the official website:
portal.battlefield.com - Sign in with your EA account.
Step 2: Create a New Experience
Once you’re logged in, it’s time to start building.
- On the main Portal screen, click the “Create New” button to start a fresh project.
Step 3: Choose Your Game Mode and Maps
Now you’ll set up the core rules.
- First, select the “Verified Modes” tab and choose a game mode. We highly recommend picking Breakthrough, because the bots tend to be much more condensed and easier to find.
- Next, go to the “Map Rotation” tab on the left and choose the maps you want to play on. You can add as many as you like. Maps like Operation Firestorm and New Sobek City are great for this.
Step 4: Enable and Configure Bots
This is the most important step for creating your farm.
- Go to the “Teams” tab.
- Look for the setting called “Bot Spawn Type.” By default, it’s set to “No Bots.”
- Change this setting to “Backfill.” This will make bots fill all empty player slots in your server, up to the maximum player count.
Step 5: Publish Your Experience
Once your settings are dialed in, it’s time to save and publish your creation.
- Go to the “Publish” tab.
- Give your server a name (like “My XP Farm”) and a description.
- Click the “Create New” button at the bottom right. This will save your experience to your account.
Step 6: Host Your Server In-Game
Your custom map is now ready to be hosted.
- Launch Battlefield 6 and go to the Community tab from the main menu.
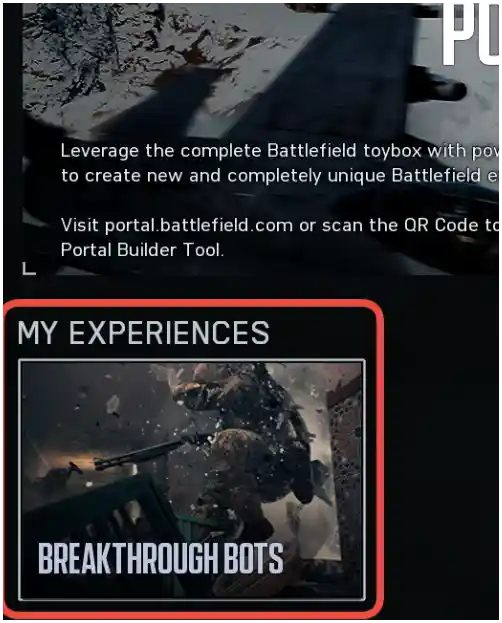
- Scroll down to the “My Experiences” section. You should see the server you just created.
- Select your map and choose to Host it.
- CRUCIAL: Remember to set a password to make your server private so no other players can join and mess up your farm.
Quick Setup Guide
Here’s a quick-glance table to make sure you’ve got all the steps covered.
| Step | Action | Pro Tip |
| 1 | Go to portal.battlefield.com | You must use the website, not the in-game menu. |
| 2 | Create a New Experience | Choose a “Verified Mode” to ensure you get full XP. |
| 3 | Select Mode & Maps | Breakthrough is the best mode for condensed bot action. |
| 4 | Enable Bots | In the “Teams” tab, set “Bot Spawn Type” to “Backfill.” |
| 5 | Publish Your Map | Give it a name you’ll easily recognize. |
| 6 | Host In-Game | Find your map under Community > My Experiences and set a password. |