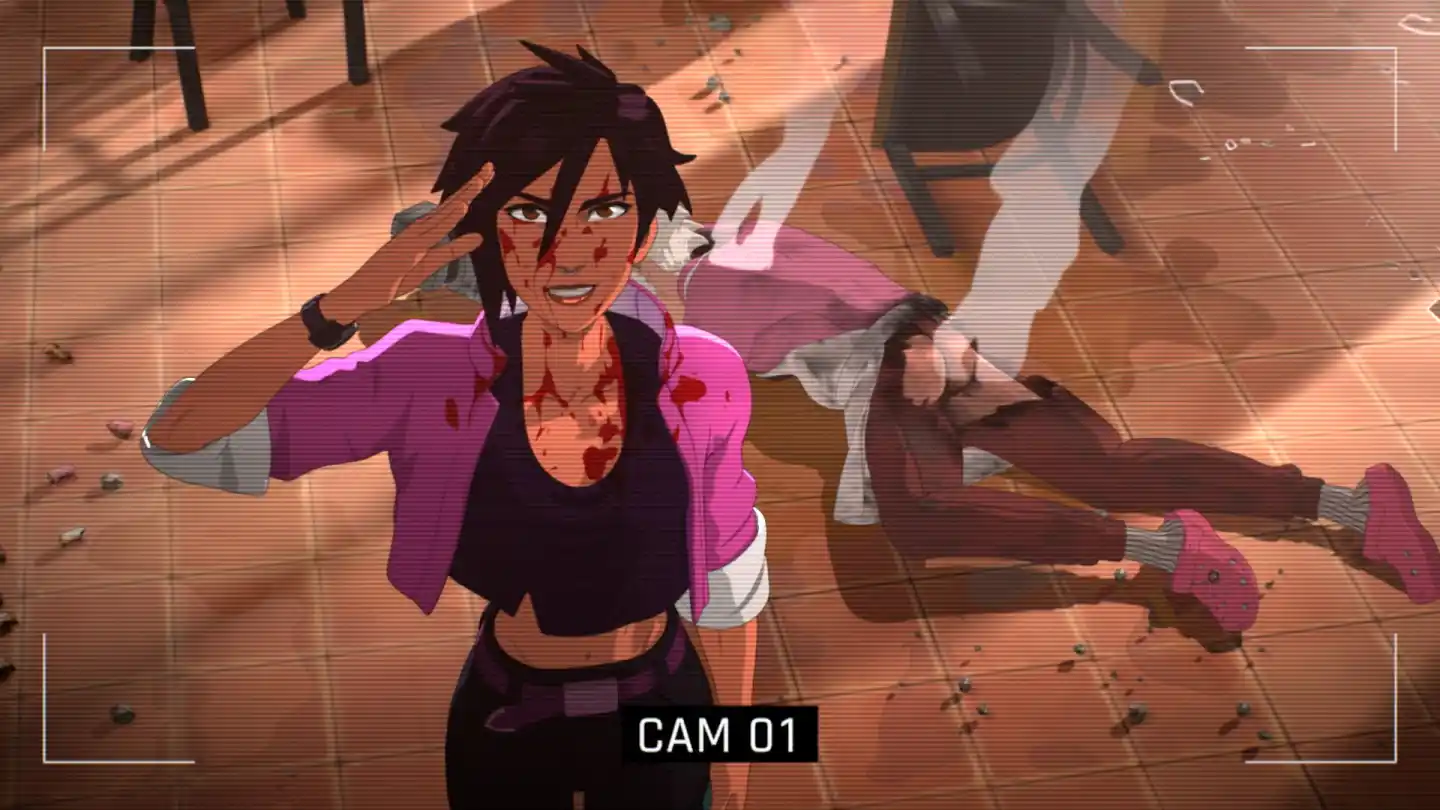
Dispatch – Episode 2: Missions And Achievements
Fast, spoiler‑light walkthrough for Dispatch Episode 2 with mission requirements, best teams, auto‑success triggers, achievements, and a tested experience formula.
Episode 2 adds the first true “dispatch sandbox” of the season: you juggle multiple calls, team synergies, and a few hidden auto‑success conditions. Use this cheat‑sheet to clear every mission efficiently, unlock the currently available achievements, and level heroes fast without wasting calls or resets.
How Dispatch Missions Resolve
Basic missions check five stats simultaneously: Intellect, Combat, Vigor, Charisma, and Mobility. If your team’s irregular pentagon fully covers the mission’s pentagon, the call auto‑succeeds. Some calls flip into a single‑stat check or become instant auto‑success when a specific hero is on scene. Characters who enable an auto‑success earn a larger experience share for that mission. Sending more heroes is generally good: all heroes present gain experience on success.
Episode 2 Mission Quick Reference
Use this at the table to assign teams in seconds.
| Mission | Notes | Best Picks | Slots |
|---|---|---|---|
| Lost Balloon | Intro call; very forgiving and great for early XP | Flambae (100% success) | 1 |
| Vend‑Go Opening | Stat check skewed toward mobility/combat; simple clear | Sonar (Human form) | 1 |
| Cray Cray Bidet | Hacking event; practice timing for later achievements | Any; prep for hack cheevos | 1 |
| Fight At Crypto‑Night | Prism presence gives auto‑success option | Prism (Auto‑Success), plus fillers | 3 |
| Retrieve Stolen Boat | Mixed stat check; decent XP if success rate is <100% | Invisigal (~83%); Sonar‑Bat also works | 1 |
| Museum Robbery | Has a Hack route; also supports physical routes | Sonar‑Bat; or pick Hack for timer practice | 2 |
| In The Zone | Prefers Sonar (Human) after schedule juggling | Sonar (Human) | 1 |
| Blaze In The Burbs | Hose and Body checks; sets up a follow‑up if failed | Golem excels here | 1 |
| Bigger Blaze In The Burbs | Appears if the first fire mission fails (e.g., Flambae refuses) | Golem; talk/route options apply | 1 |
| Send Sonar As Security | Scheduling choice to free Sonar for “In The Zone” | Pick the Sonar option if you need him later | 1 |
| Juvenile Pickpocket At Large | Dialogue‑driven; auto‑success if a certain hero is present | Malevola (Auto‑Success) | 1 |
| Locate Stolen Art | Mobility check; stealth beats brawn | Invisigal (Auto‑Success) or Coupe | 2 |
| Granny’s Donuts | Story beat; can include Hacking mini‑events | Any; focus on dialogue options | 1 |
Pro tips:
- If a mission spawns with a yellow exclamation, check for a character‑gated auto‑success first. Let that hero take the lead to farm extra experience.
- Some follow‑ups only appear after a failure. Example: sending Flambae to “Blaze In The Burbs” makes him refuse; the fail unlocks “Bigger Blaze In The Burbs.”
Send More People, Earn More XP
On success, everyone you send gains experience. Example: sending two heroes might yield 576 and 433 XP; adding a third hero adds another ~433 XP for the extra teammate. Unless you are aiming for a “solo perfection” achievement, fill your slots.
Tested XP Formula (Work In Progress)
The following empirical formula matches Episode 2 results closely:
Experience = (Mission Value − Success Rate) ÷ Mission Modifier
- Lost Balloon: Mission Value 308, Modifier 0.4
- Flambae (100%): (308 − 100) ÷ 0.4 = 520 XP
- Coupe (72%): (308 − 72) ÷ 0.4 = 590 XP
- Retrieve Stolen Boat: Mission Value 360, Modifier 0.4
- Invisigal (83%): (360 − 83) ÷ 0.4 = 692 XP
- Sonar‑Bat (72%): (360 − 72) ÷ 0.4 = 720 XP
- Coupe (63%): (360 − 63) ÷ 0.4 = 742 XP
Takeaway: lower success chance yields more XP if you still succeed. Use this to power‑level mid‑tier heroes on safe calls, but never risk a failure streak—failed missions award zero XP.
Achievement Tracker (Available Now)
Fifteen achievements are currently hidden; several late‑game or system achievements are gated by unreleased episodes. Here are the ones you can earn in Episode 2 today.
| Achievement | How To Unlock | Notes |
|---|---|---|
| “Did I Drool On You?” | Get hired at SDN | Unmissable story |
| “You Gonna Eat Those Twinks?” | Get disobeyed by Invisigal | Scripted in Episode 2 |
| “Love ’Em From My Mouth To My Butt.” | Pick the least popular donut | Choose Long John (cream‑filled) |
| Nailed It | Perfect a dispatch with only one hero | Use a safe 100% call (e.g., Flambae on Lost Balloon) |
| Shift Was Lit | Complete a Z‑Team shift without missing/failing a call | Route conservatively |
| Burning Chrome | Finish a Hacking level with ≥33% time left | Practice bidet or museum hacks |
| Time’s Running Out | Finish a Hacking level with ~5 seconds left | Count segments, finish late on last node |
| Fool’s Luck | Succeed a call with <15% chance | Deliberately under‑stat a safe call |
| Snake Eyes | Fail a call with >70% chance | Send Invisigal on Lost Balloon (≈72%) and accept the fail |
| Overkill | Cover entire stat graph on a single call | Not possible in Episode 2 (slots too few) |
| Modded | Reach Bonus and Avoided Fall stats on all calls in a shift | Unreleased content |
| Power Trip | Expand powers for four different heroes | Unreleased content |
| H4ck3d By ROb3rt | Succeed on all hacking levels | Gated by episodes |
| Min Max | Upgrade a stat to 10 | Gated by episodes |
| Dispatched | Earn all achievements | Gated by episodes |
Achievement hunting tip: the game does not autosave during the Episode 2 dispatch segment. If you return to the main menu mid‑dispatch, resuming puts you right after the slideshow. Use this to retry a few quick setups without replaying earlier scenes.
“Getting To Know Yous” Ability Checklist
Discover each hero’s starting power at least once to progress this meta‑achievement.
| Hero | Ability | How To Trigger |
|---|---|---|
| Sonar | Instincts (form swap after a call) | Send Sonar; after returning, Human/Bat stats swap (Intellect↔Combat, Charisma↔Vigor) until next call |
| Flambae | On Fire (+1 Combat and +1 Mobility after each success; resets on fail) | Chain easy successes (e.g., Lost Balloon first) |
| Invisigal | Lone Wolf (solo travel and completion speed up) | Send her alone; final Episode 2 mission also counts |
| Punch Up | Hard Head (ignores injury debuffs; cannot be downed) | Good on “Blaze In The Burbs” |
| Golem | Diamond In The Rough (slot‑based stat shifts on >2‑slot calls) | Put Golem in the leftmost slot on multi‑slot calls |
| Prism | Doppelganger Illusion (duplicates hero to her left, fills an empty slot to her right with half stats) | On 3‑slot calls, place any hero left, Prism middle |
| Coupe | En Pointe (+1 Combat in slot 1, +1 Mobility in slot 2 on ≥2‑slot calls) | Use on “Fight At Crypto‑Night” with multiple slots |
| Malevola | In Progress | Keep testing dialogue‑driven calls (she auto‑wins the pickpocket mission) |
Optimal Episode 2 Routing (Safe And Fast)
- Open with Lost Balloon using Flambae to bank a guaranteed success and starter XP.
- Use Prism on Fight At Crypto‑Night to trigger auto‑success and spread XP to the whole squad.
- Prioritize Sonar‑Human for In The Zone; plan earlier assignments to keep him available.
- Put Golem on the fire chain; if you induce the fail that spawns Bigger Blaze In The Burbs, clear it next.
- Use Invisigal for Locate Stolen Art (auto‑success) and Retrieve Stolen Boat for efficient clears.
- Slot Malevola on Juvenile Pickpocket At Large to auto‑clear and test her unique trigger lines.
- Farm hacking achievements on Museum Robbery or the final Episode 2 hack by controlling the finish timing.
Final Notes And Next Steps
- Two episodes release weekly through November 12, so more achievements and ability upgrades unlock over time.
- Keep a rotating bench: sending extra heroes to easy calls accelerates team‑wide leveling.
- If you are fishing for “low chance success” or “high chance fail,” use short travel calls to iterate quickly.
Bookmark this guide and come back after each drop; the mission table, unlock paths, and ability checks will be updated as new content lands.
by chunky