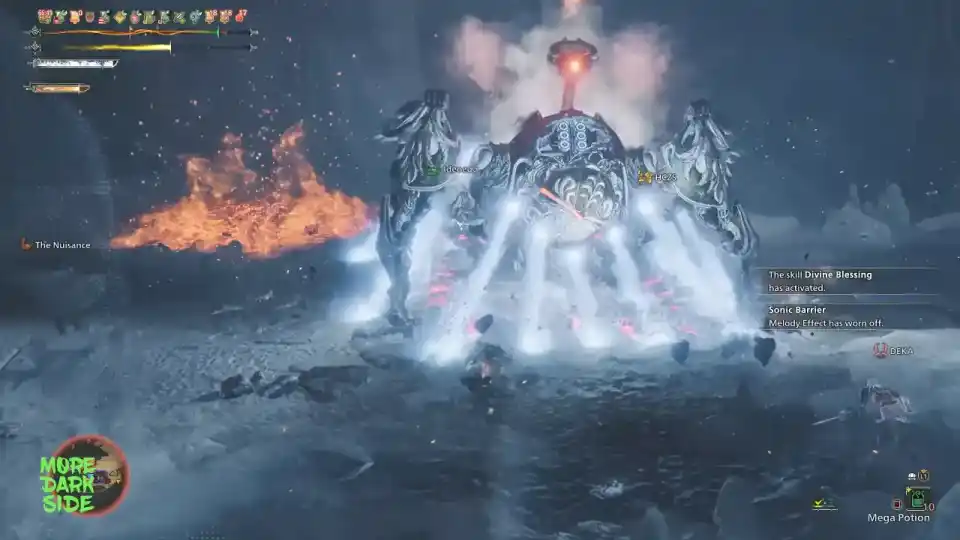
Monster Hunter Wilds – Omega Guide: How to Beat the Ultimate Boss
This is your ultimate survival guide to the Omega Planetes boss fight in Monster Hunter Wilds. We’re breaking down the community-tested 4-player strategy, the best builds, and a phase-by-phase walkthrough to help you conquer this brutal MMO-style monster.
So, Omega Planetes just dropped in Monster Hunter Wilds, and let’s be real: the community is in absolute shambles. This monster is, no cap, the most controversial and difficult fight the series has seen in years, maybe ever. Players are calling it frustrating, poorly designed, and more like a raid boss from World of Warcraft than a true Monster Hunter creature. But at the same time, some are absolutely loving the insane challenge it brings.
Whether you love it or hate it, you’re here because you want to beat it. This guide is your lifeline. We’ve synthesized all the community feedback and a fire 4-player speedrun strategy to give you the ultimate game plan for taking down this beast.
The Vibe Check: Why is Everyone Freaking Out?
Before we get into the strat, you need to understand what you’re up against. This isn’t your typical Monster Hunter fight, and that’s the whole point.
- It’s an MMO Fight, Not an MH Fight: This is the biggest complaint. The fight is loaded with constant UI alerts, multiple instant-kill attacks that are almost impossible to dodge, and AoE spam that covers the entire arena. It basically requires players to fill specific MMO roles like Tank, Support, and DPS.
- The Difficulty is Busted: Omega will one-shot you, even if you’re wearing maxed-out, fully augmented gear. Slow weapons, like the Hunting Horn, can barely get a single attack in without getting hit by random chaos. It’s designed to be frustrating.
- Is This a Bad Thing?: Some players are actually hyped about the difficulty. They see Omega as the first real endgame challenge in Wilds, giving them a reason to grind for the absolute best gear and truly master their builds.
The fight is so tough that many players have found it’s actually easier to play solo with NPC hunters than with a team of randoms online. And honestly, the community is surprisingly chill about people using offline cheats just to get the gear, because the fight is seen as that unfair.
The Meta: A 4-Player Speedrun Strategy
This strategy is based on a fast, coordinated 4-player team, but the roles and principles can be adapted for any group.
The Dream Team Comp
The ideal squad composition is:
- 1 Hunting Horn (Support)
- 1 Gunlance (Tank)
- 2 Dual Blades (DPS)
The game plan is simple: The Hunting Horn buffs everyone, the Gunlance takes the monster’s aggro and tanks its head, and the two Dual Blades players focus on shredding the legs to create openings.
Builds & Key Skills
- Hunting Horn (Support): You are the MVP. Use the Guardian Archvelt Hunting Horn for its Sonic Barrier song. This gives the whole team hyper armor until they take a hit. By constantly reapplying it, you make everyone way more aggressive and safe. Also, bring Attack and Defense Up songs.
- Gunlance (Tank): Your job is to stay glued to Omega’s head. The Guardian Arcwell Gunlance is a solid choice. Because Gunlance deals fixed explosive damage, you can ignore the head’s bad hitzone values for cutting damage. Stack Guard and Guard Up to the max so you can block everything Omega throws at you. By staying on the head, you’ll naturally pull aggro.
- Dual Blades (DPS): You are the damage dealers. The Arcin or Legac (Thunder) Dual Blades are top-tier choices since Omega is weak to thunder. Your main goal is to break the hind legs. This is crucial for a mechanic in the final phase. Key skills are Partbreaker and Latent Power (for the massive affinity and stamina reduction in a long fight).
- For Everyone: Defensive skills are not a suggestion; they are a requirement. Slot in Divine Blessing, Fire Resistance, Stun Resistance, and Binding Resistance.
The Omega Fight: Phase-by-Phase Breakdown
This fight has four phases, and each one gets progressively more chaotic.
Phase 1: The Warm-Up
This phase is super short. The whole team should focus on wounding and breaking Omega’s head. When it breaks, a shield will appear that you can stand in for safety. Deal enough damage, and it’ll move to the next area.
Phase 2: Dodge the Lazers
Omega will always start this phase with two scripted attacks: the Mustard Bomb followed by the Mega Laser. Dodge these, then get back on the head to create more shields. There are also two boulders in this area you can drop on its head for free damage and a knockdown.
Phase 3: The DPS Check
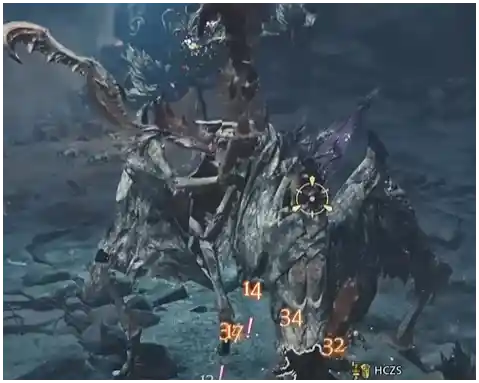
This is where the real fight begins. Omega will start using its most dangerous move, the Starboard Wave Cannon, a massive beam it fires twice in a row. Stay at max health. After you deal enough damage, a Nerscylla will appear.
- This is a hard DPS check. Your entire team must burn down this spider ASAP. If you don’t kill it fast enough, Omega will unleash a team-wiping Delta Attack.
- Pro-Strat: Have one player switch to a Light Bowgun to paralyze the Nerscylla at the start of the phase. It’s also weak to fire, so having a fire weapon helps.
Phase 4: The Real Fight
This is the hardest phase, no cap.
- Break the Legs: Your number one priority is to have your DPS players focus on breaking one of the hind legs.
- Get the Slinger Ammo: When the leg breaks, it will drop special Shield Generator Slinger ammo. Pick this up.
- Attack the Antenna: While the DPS is on the legs, the Gunlance should still be on the head. Once a leg is broken, everyone should try to target the antenna on Omega’s back, which is its weakest point.
- Use the Shield Generator: The player with the special slinger ammo can fire it to create a large shield, similar to the one from the head breaks. Use this right before a big AoE attack to create a safe zone for your team.
- Survive the Fire Spam: At some point, Omega might start running around the arena, spamming massive AoE fire attacks three times. The only way to survive this is to sheath your weapon, get on your mount, and run for your life.
Keep up the pressure, use your shields wisely, and you’ll eventually take it down. Good luck, hunter. You’re gonna need it.