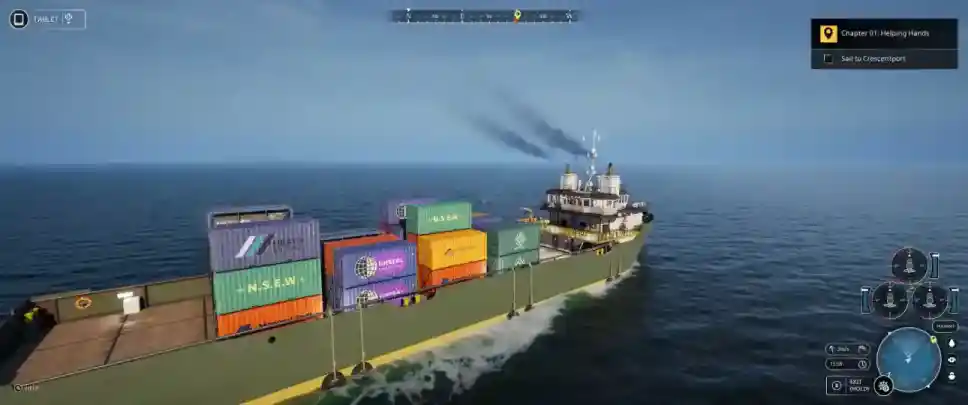
Seafarer: The Ship Sim – How to Uncap Your FPS
Struggling with the 60 FPS cap in Seafarer: The Ship Sim? This guide shows you where to find the hidden config file and explains the workarounds to uncap your frame rate, even when the game tries to force VSync.
So, you’ve got a high-refresh-rate monitor ready to go, but the second you launch Seafarer: The Ship Sim, you’re stuck in 60 FPS jail. It’s a classic problem, and you’re not alone in trying to fix it.
The good news is there’s a way to change the settings by editing a config file. The bad news? It’s not as simple as it looks, and the game puts up a serious fight. Let’s break down how to do it and what to expect.
Step 1: Find the Hidden Config File
First things first, you need to find the GameUserSettings.ini file. The devs put this in a super weird spot, so don’t feel bad if you couldn’t find it. It’s not in the game’s folder or under a name that makes sense.
The file is located in a folder named Orca. Big yikes. You can find it by navigating to this exact path in Windows:
C:\Users\YOUR_USERNAME\AppData\Local\Orca\Saved\Config\Windows\
Just replace YOUR_USERNAME with your actual Windows username. The file you’re looking for inside that folder is GameUserSettings.ini.
Step 2: Edit the Frame Rate Limit
Now that you’ve found the file, open it with any text editor like Notepad. You’re going to see a bunch of settings that control how the game runs.
Scroll through the text until you find the line that says FrameRateLimit=60.000000. This is the one we need to change.
Update the number to match your monitor’s refresh rate. For example, if you have a 144Hz monitor, change it to FrameRateLimit=144.000000. Save the file when you’re done.
Step 3: The Read-Only Trick (Workaround)
Here’s the catch: the game will often ignore your changes or just overwrite the file the next time you launch it. To prevent this, you can set the file to “Read-only.”
- After saving your changes, close the text editor.
- Go back to the folder and right-click on
GameUserSettings.ini. - Select “Properties” from the menu.
- In the General tab, check the box next to “Read-only” at the bottom.
- Click “Apply” and then “OK.”
This tells Windows not to let the game mess with your new settings.
The Real Problem: Forced VSync
Okay, so you’ve done everything right, but the game still drops back to 60 FPS once you hit the main menu. What gives?
The community has figured out that the game seems to be forcing VSync, no matter what. Even if you have bUseVSync=False in the config file and have VSync turned off in your GPU’s control panel, the game’s own programming takes over and locks it to 60.
This is the final boss of the FPS problem. Your file edit is working—you might even see a high framerate on the startup screens—but the forced VSync kicks in and ruins the party.
So, What’s the Final Fix?
As of right now, the community hasn’t found a foolproof way to disable the game’s hard-coded VSync. The file edit and the read-only trick are the best workarounds we have.
This is likely an issue that the developers will need to address in a future patch. The steps above are still crucial because when they do fix the VSync issue, you’ll already have your frame rate limit set correctly. For now, keep an eye on patch notes!
| Issue | Solution / Status |
| Can’t find config file | It’s in the “Orca” folder in AppData\Local |
| Game overwrites FPS limit | Set GameUserSettings.ini to Read-Only |
| Still stuck at 60 FPS | Game forces VSync; no known public fix yet |